GitHub Pages 만들기
업데이트:
1. Environment & Tools
- Environment
- OS : macOS Catalina 10.15.3
- Jekyll : jekyll 4.0.0
- Bundler : Bundler version 2.1.4
- Ruby : ruby 2.6.3p62
- Homebrew : Homebrew 2.2.9
- Tools
- ETC
2. 사전 준비 사항
- Jekyll, Bundler 설치가 필요합니다.
- Homebrew, Ruby 설치에 관해서는 본 Post에 기술하지 않았습니다.
sudo gem install jekyll bundler
3. Create GitHub Repository
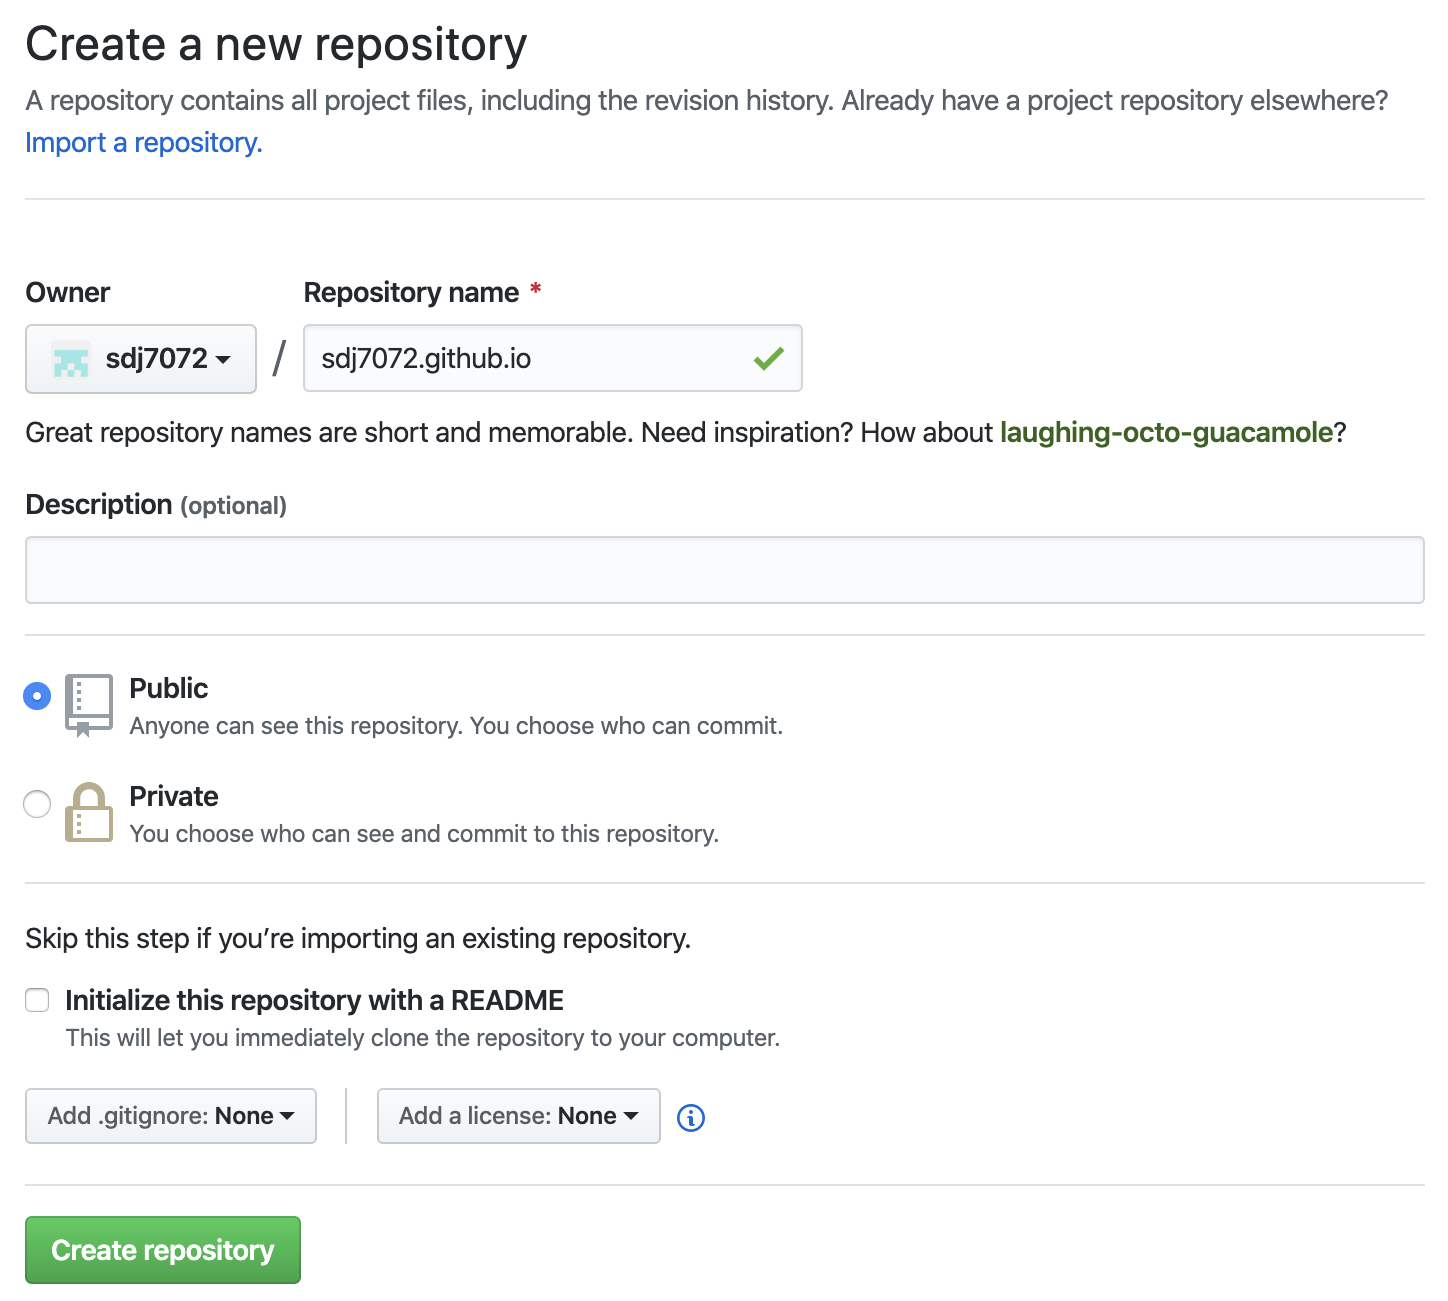
Create Repository
- Repository name : {username}.github.io
- 공개 설정 : public
- ‘initialize this repository with a README’는 체크하지 않습니다.
- Repository 생성이 완료됩니다.
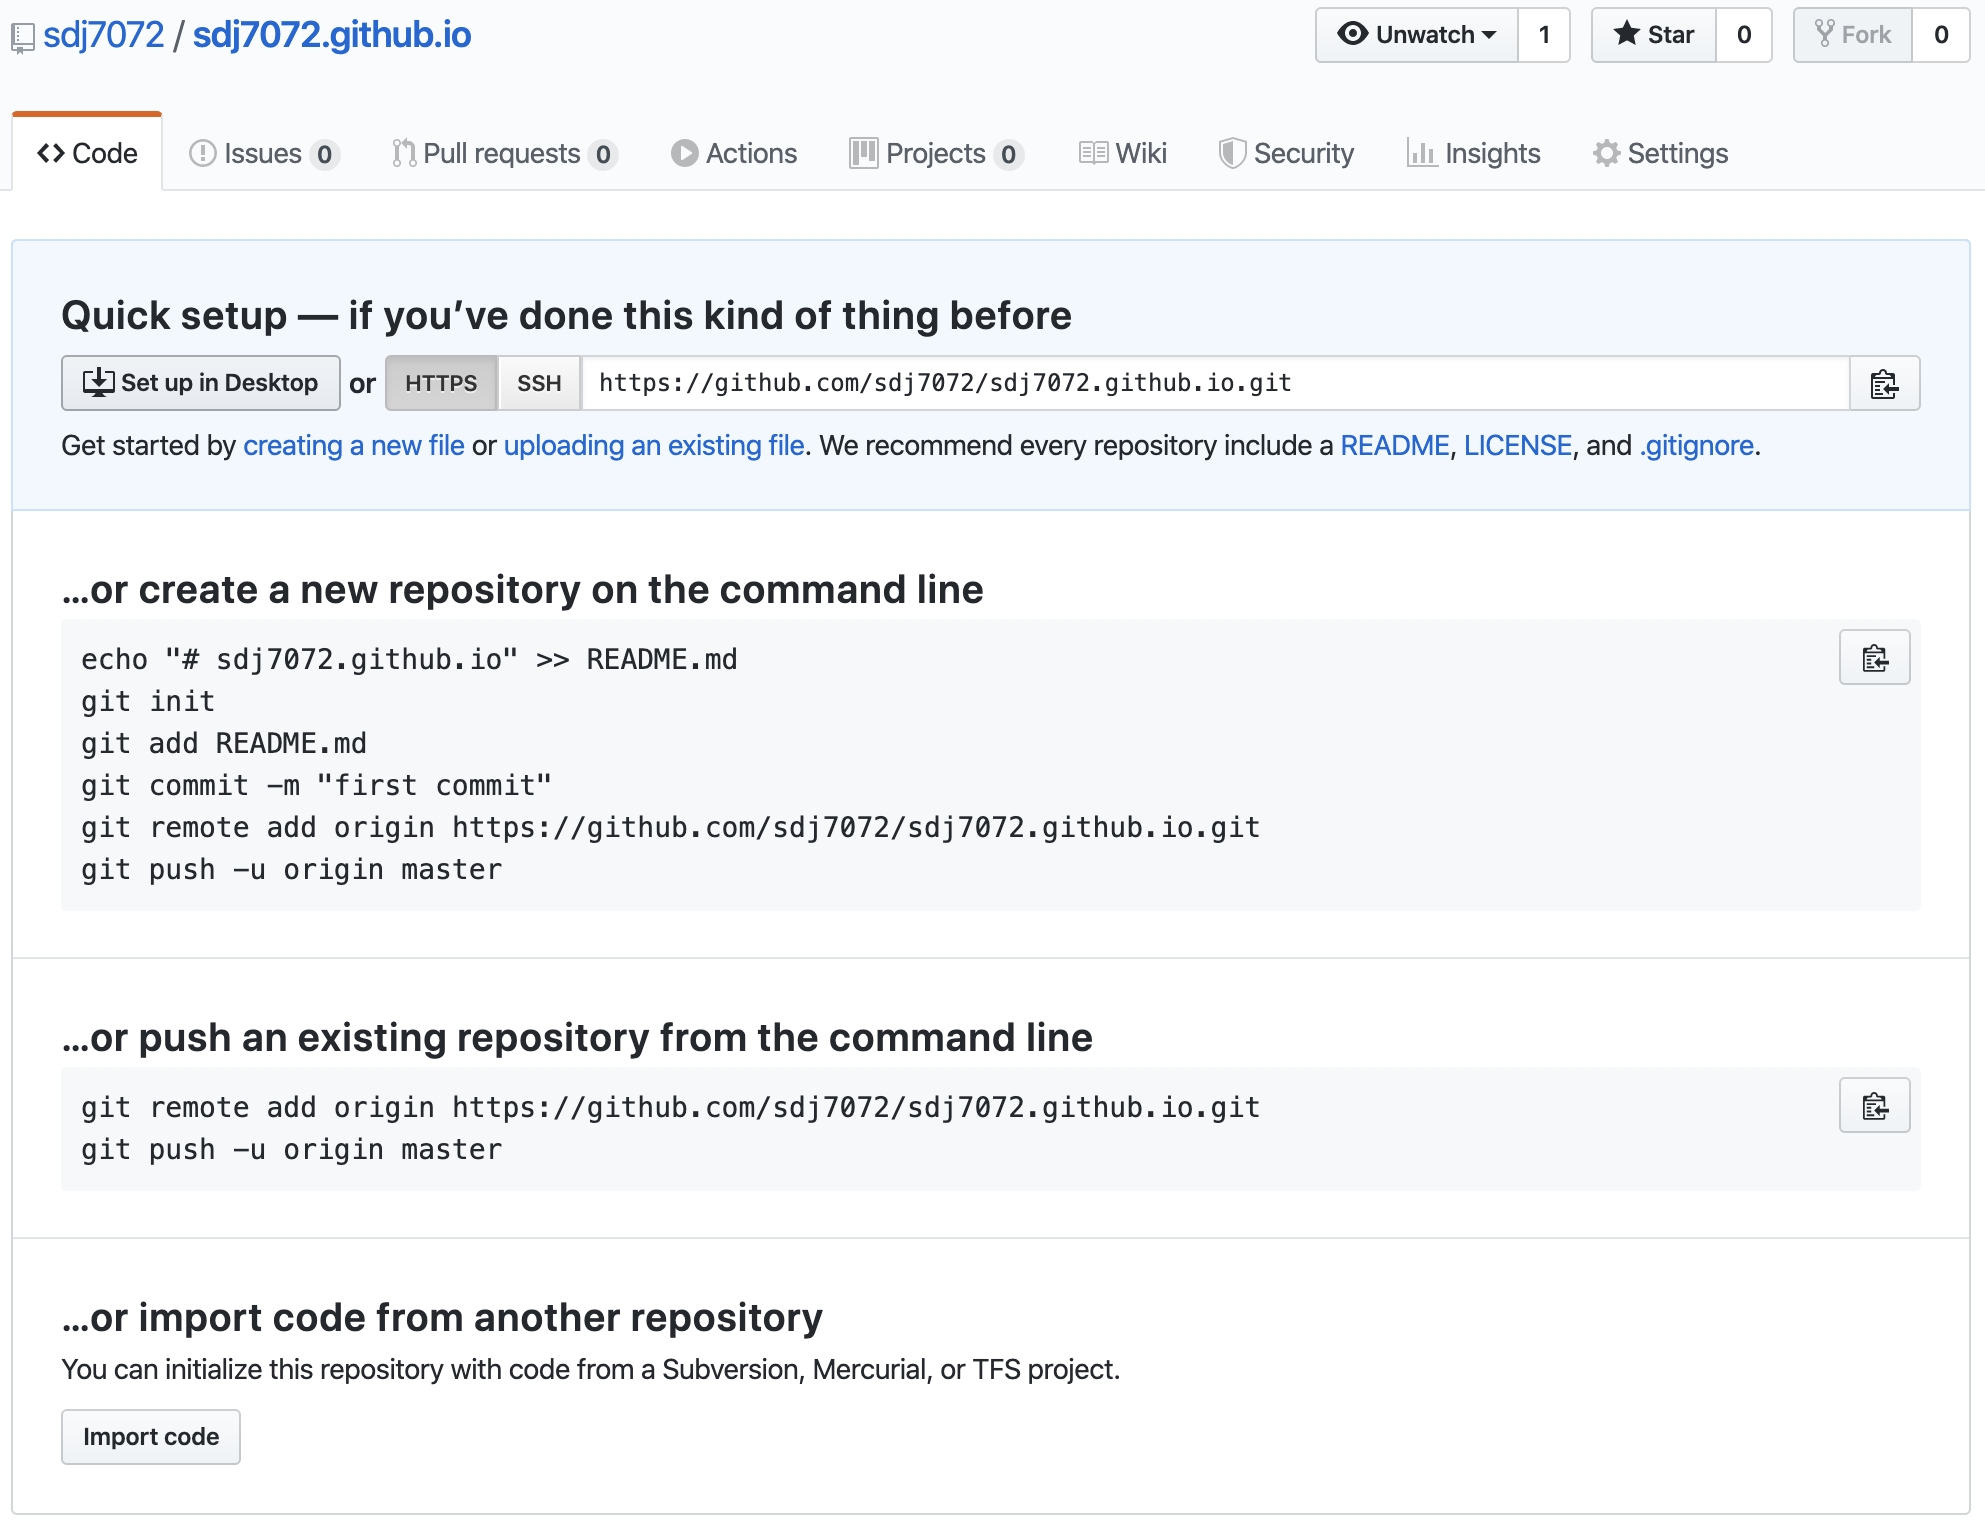
Clone Repository
macOS에 GitHub Default Path인 ‘~/Document/GitHub’에서 git clone을 수행합니다.
해당 경로가 존재하지 않는다면 GitHub Desktop을 설치하거나 ‘mkdir’ 명령어로 직접 생성해도 됩니다.
1
2
3
cd ~
cd Document/GitHub
git clone https://github.com/sdj7072/sdj7072.github.io.git
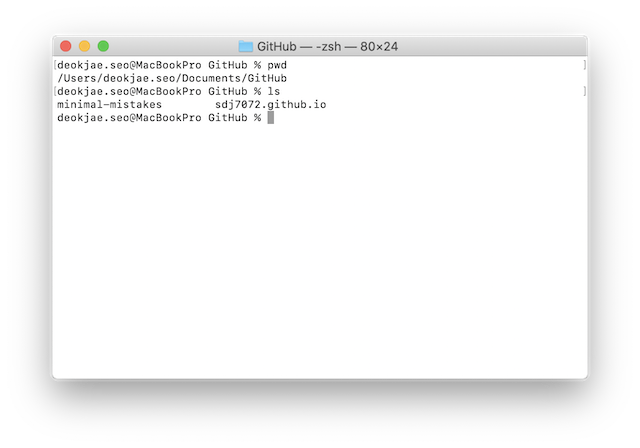
‘sdj7072.github.io’ repository가 복제된 것을 확인할 수 있습니다.
‘minimal-mistakes’ repository도 보이네요. :)
4. Jekyll Theme : minimal-mistake
Clone Repository
Jekyll Theme 중에서 유명한 ‘minima-mistakes’ Theme를 사용합니다.
아래 GitHub Repository에서 Clone 합니다.
‘Open in Desktop’ 버튼을 클릭하여 GitHub Desktop을 통해 clone을 수행합니다.
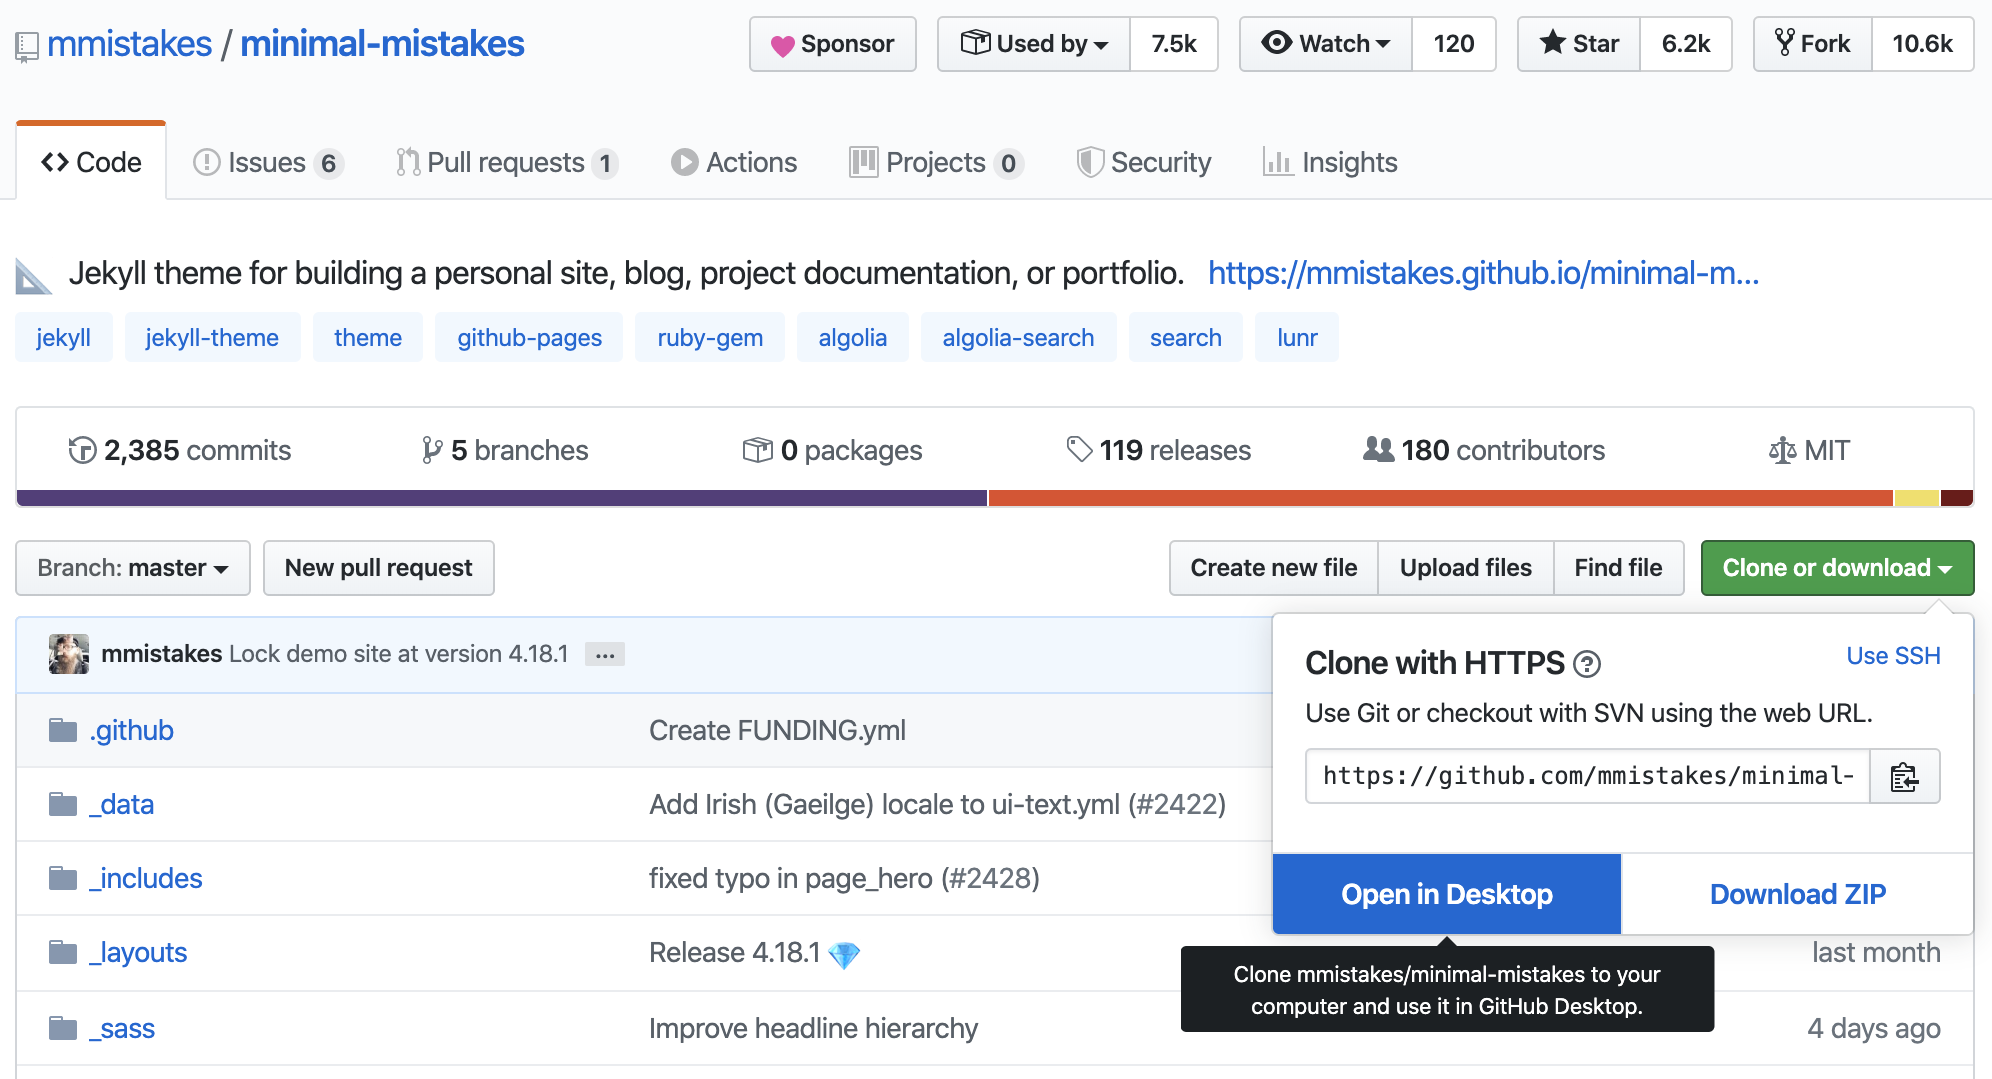
GitHub Desktop으로 전환되어 git clone을 수행할지 물어봅니다.
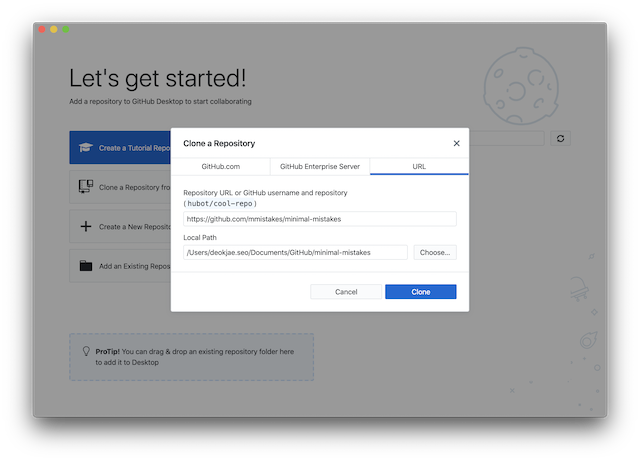
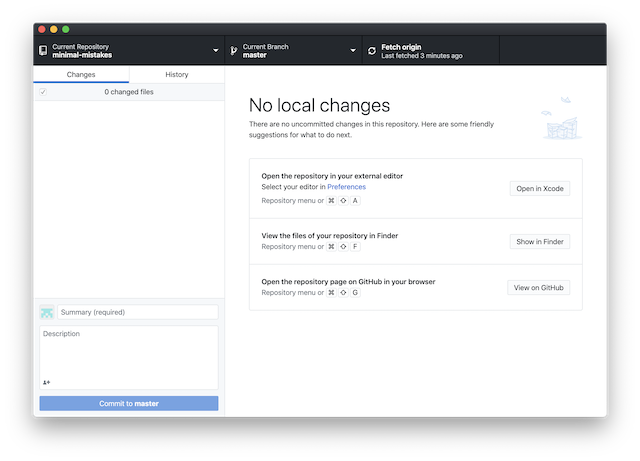
git clone이 완료되었습니다.
Local Test
‘minimal-mistakes’ repository로 이동하여 GemFile에 정의된 Dependency Library를 설치합니다.
cd ~
cd Document/GitHub/minimal-mistakes
bundle install
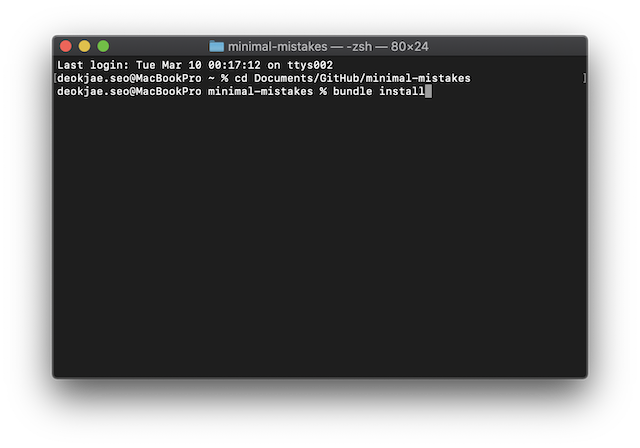
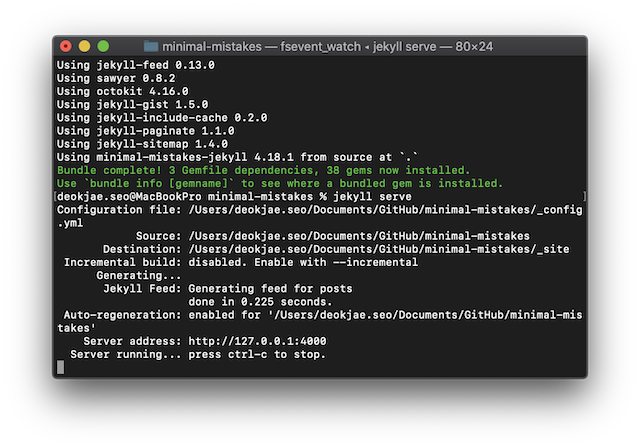
bundle install이 완료되면 ‘jekyll serve’ 명령어로 로컬 환경에서 jekyll instance를 기동할 수 있습니다.
jekyll serve
jekyll instance를 종료할 때는, terminal 화면에서 ‘ctrl + c’ key를 누르면 됩니다.
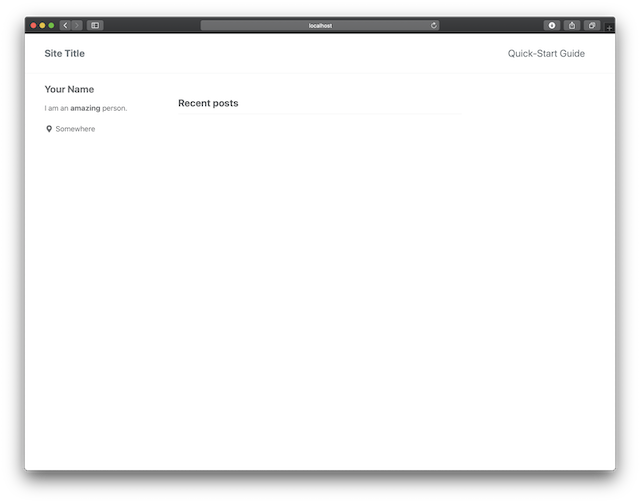
로컬 환경에서 접속하면 정상적으로 화면이 뜨는 것을 볼 수 있습니다.(허전한데…?)
http://127.0.0.1:4000/
http://localhost:4000/
5. Push to My GitHub Pages
Copy to My Local Repository
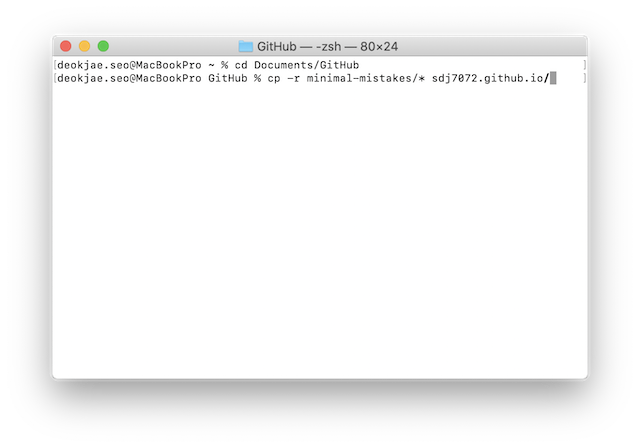
‘minimal-mistakes’ Repository를 본인의 GitHub Repository로 복사합니다.
(Finder에서 복/붙 하는게 더 편한데…)
cd Document/GitHub
cp -r minimal-mistakes/* {folder_name}
Push to GitHub Repository
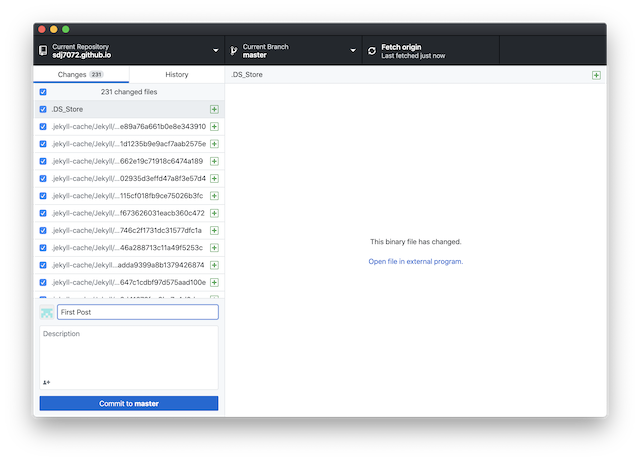
GitHub Desktop에서 Comment를 작성한 후, Commit을 수행합니다.
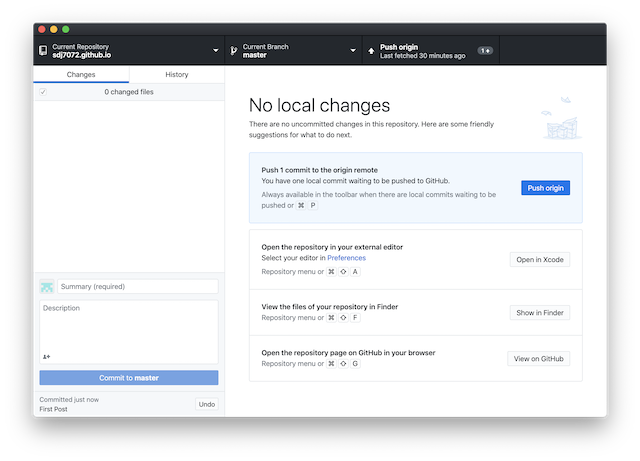
 ‘Push origin’ 버튼을 클릭하여 GitHub Repository로 Push 합니다.
Test
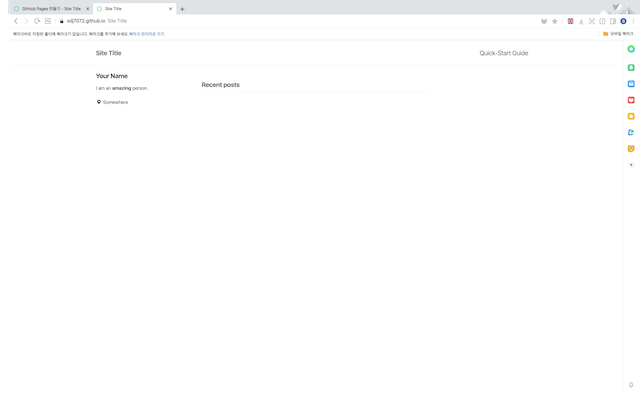
본인의 GitHub Pages URL로 접속하여 확인 가능합니다.
http://sdj7072.github.io/
댓글남기기